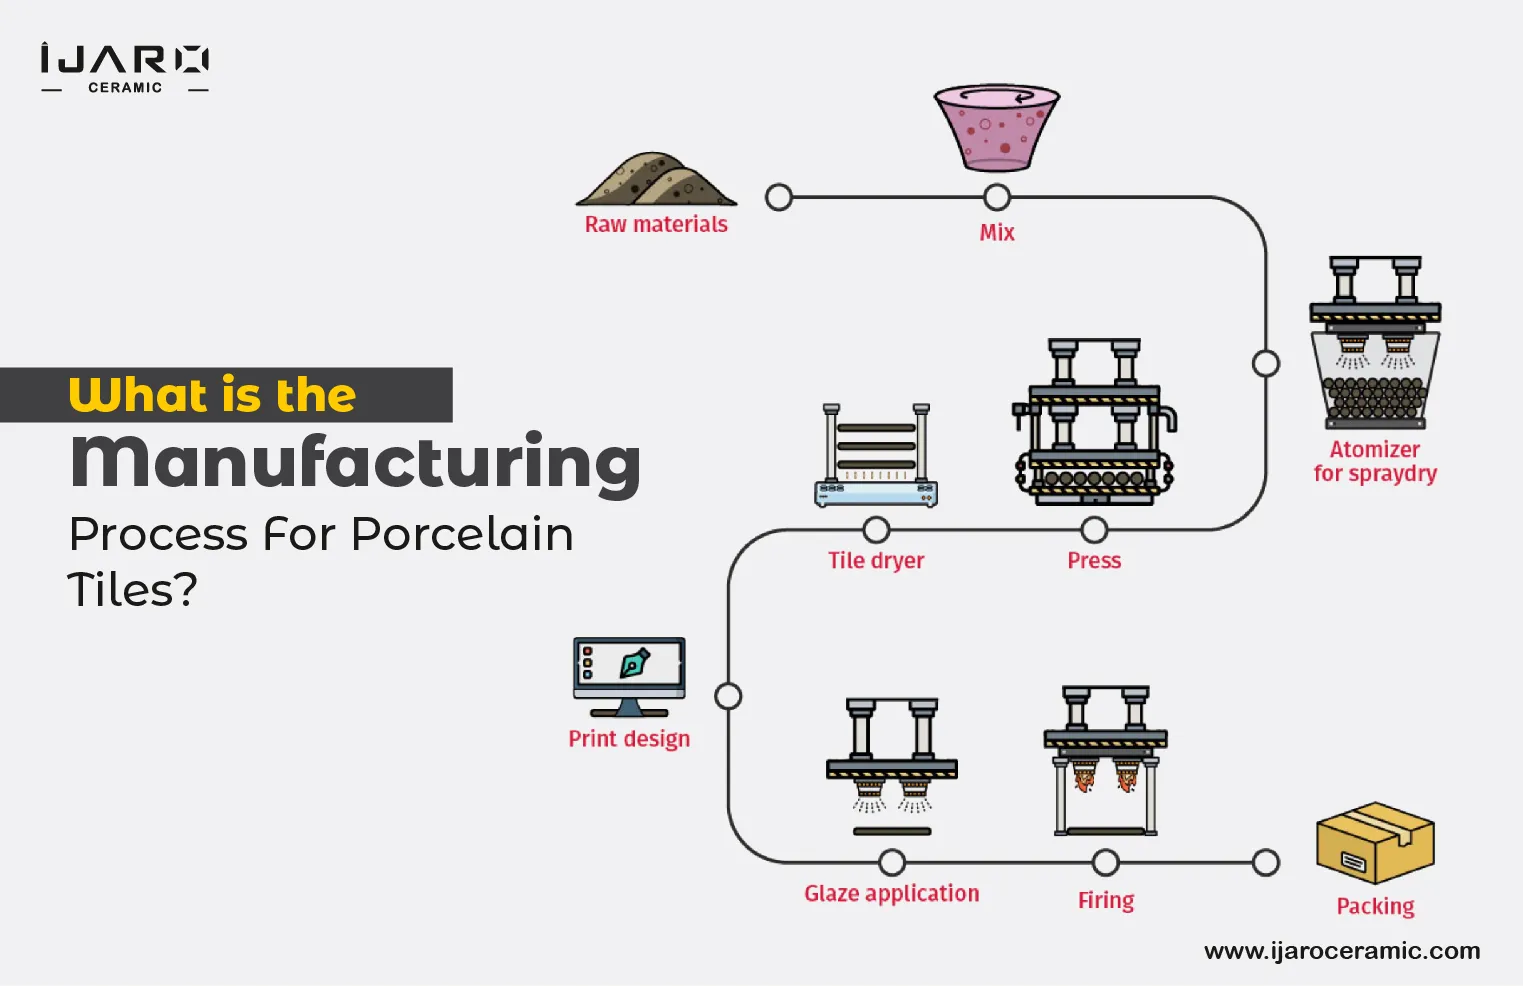
The majority of people follow the latest trend in the tile industry, porcelain tiles is one of them that is best for every home. To eliminate moisture and create a firm, thick tile, porcelain tiles are created from incredibly fine clay that is burnt at high temperatures. Porcelain tiles have little water absorption rate less than 0.5% and are thick and long lasting.
When making porcelain tiles, the clay mixture that is used contains materials such as quartz, silica or feldspar. This admixture makes the tiles become tougher and have a greater capacity for holding strength as a result of reduced porosity and reduced water absorption. Due to the high degree of quality of the raw materials and the highly technological production method, porcelain tile has excellent technical qualities.
By modernizing the production processes and techniques for making tiles,porcelain tile manufacturers around the world have significantly altered the appearance and quality of these tiles. So do you want to know the process of making these tiles? Below we list all the steps involved in making porcelain tiles.
10 Essential Steps to Making Porcelain Tiles
The main steps for making porcelain tiles that most porcelain tile manufacturers use are listed below.
batching
The quantity and nature of the raw materials influence the body composition of the majority of porcelain products. The color, hardness, and other properties of the tile body are all influenced by the raw ingredients. To acquire the desired qualities, it is crucial to blend the ingredients in precise proportions. To get the ideal raw material combination, batch calculations are utilized to determine the proper weight of each raw ingredient.
Mixing & Grinding
Once all materials are prepared, including sand, clay, feldspar, silica, and others, they are loaded into a huge mixer known as a ball mill. During the mixing procedure, water is added in a defined quantity. To aid in the mixing process and create finer particles, ball stones or alumina pebbles are added to the ball mill. Slip is the end product of this water-filled slurry.
Color Mixing
The varied colored bodies are created by mixing ceramic colors into the slip. In a high-speed blender tank, mixing is done. For a basic body that retains its original skin tone, this procedure can be omitted.
Spray Drying
A spray drier is used to remove extra water from the slip. The slip is pumped into an atomizer with nozzles as part of the procedure. As the slip droplets are heated by ascending hot air, their moisture evaporates. After that, the liquid slip will become a powder.
Creating the Tile
The next step involves dry pressing the dried slip powder in a forming die to create tiles. More than 7,500 tonnes of pressure are applied to a steel plunger to compress the material, resulting in a pressing pressure of more than 400 kg/cm2. The goal of this procedure is to produce a dense, less porous ceramic mass, which after fire results in a stronger body with very little water absorption.
Drying
The tile goes through a slow drying process to eliminate any excess moisture prior to firing and avoid shrinkage fractures in environments with high humidity levels.
Printing & Glazing
The next stage is to use laser inkjet printing and patterns to cover the body color and create the desired effect, color, and texture on the iles once they have dried. This process will also increase the stain resistance of the tile and give it a unique pattern. Then, a glaze material layer is added on top to provide decoration, glossy and moisture resistance surface.
Firing
Now, it is time to fire the tile in a roller kiln at a very high temperature of 1200°C. The soft clay will form a firm, resilient and non-porous tile that will help set the glaze and evaporate any remaining moisture due to the high temperature. The firing time and heat are changed depending on the size of the tile.
Polishing & Squaring
Finally, the majority of tiles are transported for polishing. Tiles are honed and polished during this procedure to give their surface a lovely glossy sheen. Tiles may be polished to a lappato surface or a glossy finish using various abrasive instruments and varying polishing levels. The edges of completed tiles can be corrected or left unrectified. Rectification, also known as squaring, is the act of cutting or grinding the tile edges to a consistent work size with very little variance for the convenience of installation.
Selection & Packing
This is the last step before the tiles are shipped to you. Each tile is graded based on its appearance, flatness, dimensions, hue and size. After that, they are properly labeled, organized, and packed in boxes.
As we can see from this blog, producing porcelain tiles appears to be challenging. But above 10 points, allows you to understand the process of creating such tiles with ease. We hope that reading this blog has improved your understanding of how porcelain tiles are made.
Ijaro ceramic is one of the leading porcelain tile manufacturers located in Morbi, Gujarat. We have earned a reputation for delivering the best premium tile available anywhere in the globe. We are also a recognized exporter and manufacturer of high-end ceramic products.

